Cycling is one of the best ways to stay active, explore your surroundings, and even commute to work—but whether you’re riding around the block or training for a century ride, safety always comes first. A good helmet isn’t just a recommendation—it’s an essential piece of gear that can protect you in the event of a fall or collision.
Today’s cycling helmets offer a blend of advanced safety features, lightweight designs, and ventilation systems that make wearing one comfortable and barely noticeable. Here’s how to choose the best cycling helmet for your needs, ensuring you stay both safe and comfortable every time you ride.
1. Understand the Importance of Certification
Before anything else, make sure any helmet you’re considering meets recognized safety standards. Certification means the helmet has passed tests for impact absorption and strap strength.
Look for these common certifications:
-
CPSC (Consumer Product Safety Commission): Required for all helmets sold in the U.S.
-
CE EN 1078: European standard
-
AS/NZS 2063: Australian and New Zealand standard
Helmets with these certifications provide a minimum level of protection, ensuring basic safety requirements are met.
2. Choose the Right Helmet Style
Different types of cycling call for different helmet designs, each optimized for the type of riding you plan to do.
Road Bike Helmets
-
Lightweight and aerodynamic
-
Prioritize ventilation and low weight
-
Sleek designs, often without visors
Mountain Bike Helmets
-
More coverage around the back and sides
-
Built-in visors for sun and debris protection
-
Reinforced for rough trails and crashes
Commuter or Urban Helmets
-
Stylish, casual designs
-
May have integrated lights or extra padding
-
Focused on comfort and practicality over performance
Choosing a helmet style that matches your riding type ensures you get the right mix of protection, comfort, and features.
3. Focus on Proper Fit
A helmet can only protect you if it fits properly. A helmet that’s too loose or sits incorrectly on your head won’t do its job in a crash.
How to Ensure a Proper Fit:
-
Level Position: The helmet should sit level on your head, not tilted back or forward.
-
Straps: Straps should form a “V” shape under your ears and feel snug without choking you.
-
Retention System: Use the rear adjustment dial or sliders to fine-tune the fit around your skull.
-
Tight but Comfortable: The helmet should feel secure without causing pressure points.
Most helmets come in multiple sizes, so always measure your head circumference and check the brand’s sizing chart before buying.
4. Look for Advanced Safety Technologies
Beyond basic certifications, many modern helmets include additional technologies designed to improve protection in the event of an accident.
MIPS (Multi-Directional Impact Protection System)
-
A low-friction layer inside the helmet
-
Allows the helmet to rotate slightly on impact, reducing rotational forces on the brain
-
Adds a small cost but greatly enhances protection
WaveCel and Other Proprietary Systems
-
Designed to absorb energy differently than traditional foam
-
Help minimize both direct and rotational forces
If safety is your top priority, helmets with MIPS or similar systems are worth the investment.
5. Prioritize Ventilation and Cooling
Good ventilation is crucial, especially if you plan to ride in warm weather or take on long-distance rides.
Ventilation Features to Look For:
-
Multiple large vents
-
Internal channels that move air across your head
-
Lightweight materials that promote airflow
More vents typically mean better cooling but can slightly reduce overall aerodynamics (which matters mostly for racing).
6. Evaluate Weight for Comfort
The lighter the helmet, the less you’ll notice it on your head. A heavy helmet can cause neck fatigue over long rides.
-
Road helmets usually weigh between 200–300 grams.
-
Mountain bike helmets are slightly heavier due to extra coverage.
-
Urban helmets may weigh more because of added features like built-in lights.
If you do a lot of climbing or racing, prioritizing a lightweight helmet can make a big difference in comfort.
7. Consider Visibility Features
Visibility can make a major difference in keeping you safe, especially during low-light rides.
Visibility Enhancements:
-
Reflective elements on the helmet shell or straps
-
Integrated rear lights or clips for attachable lights
-
Bright colors like neon yellow, orange, or white
Even if you ride mostly during the day, extra visibility is a smart safety move.
8. Choose Quality Materials and Construction
The material and construction of the helmet play a role in its durability and comfort.
Key Components:
-
EPS foam liner: Absorbs impact energy
-
Polycarbonate shell: Protects against abrasions and helps the helmet maintain its shape
-
In-mold construction: Bonds the shell and foam liner for better durability and lighter weight
Premium helmets often feature more advanced materials, but even budget-friendly helmets today meet high standards thanks to improvements in manufacturing.
9. Set a Budget That Fits Your Needs
Cycling helmets come in a wide range of prices, but you don’t have to spend a fortune to get quality protection.
General Price Ranges:
-
Budget helmets ($40–$80): Basic protection with fewer features
-
Mid-range helmets ($80–$150): Improved ventilation, lighter weight, MIPS technology
-
High-end helmets ($150–$300+): Top-level aerodynamics, ultra-lightweight materials, and advanced safety tech
Choose a helmet within your budget that meets certification standards, fits properly, and has the features that matter most for your riding style.
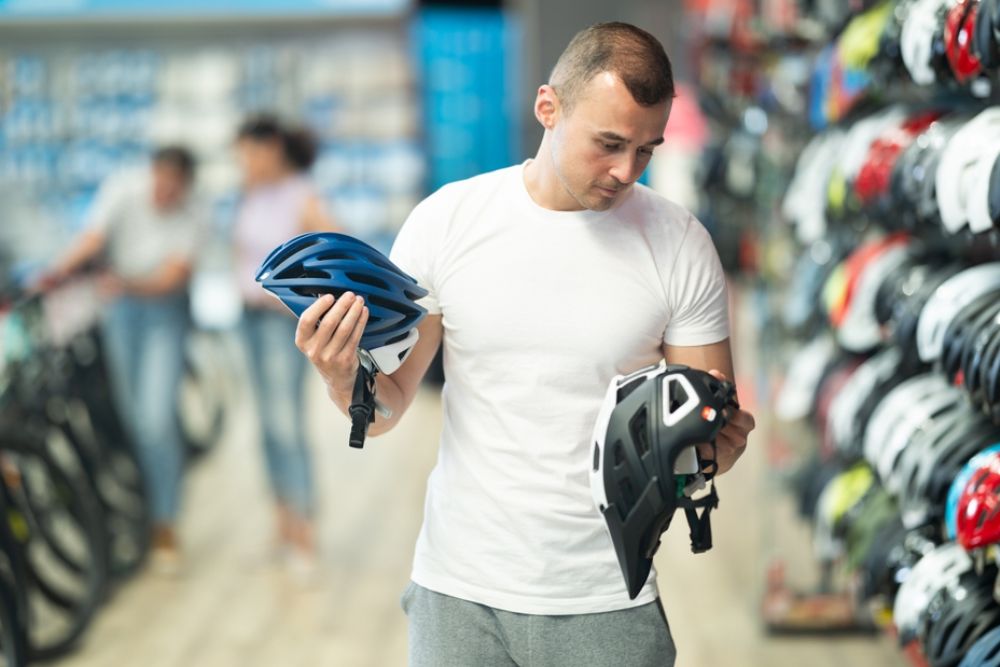
10. Try Before You Buy (If Possible)
Whenever possible, try on several helmets to compare comfort, fit, and weight.
In-Store Testing Tips:
-
Wear the helmet for at least 5–10 minutes
-
Shake your head lightly to test stability
-
Adjust the straps and retention system to feel how secure the helmet is
If you’re buying online, check for a flexible return policy in case the helmet doesn’t fit as expected.